Sony 75" HDTV - HDMI Port Repair
Sony KD-75XH9096 HDMI port damaged. Detailed soldering techniques for surface-mount connectors on premium HDTV boards.
Symptoms
- No Signal on HDMI input
- HDMI port feels loose or wiggly
- Visible damage to the pins inside the port
- Intermittent connection when wiggling cable
Diagnosis
Physical inspection confirmed HDMI Port 1 was mechanically separated from the PCB. The anchor legs were broken and several data pins were lifted. Traces on the PCB were intact, meaning a direct replacement was possible without jumper wires.
- Hot Air Rework Station
- Soldering Iron with Chisel Tip
- Flux Gel (High Quality)
- Solder Wick
- Microscope
- HDMI Port ConnectorSony 19-pin SMD Type AMust match footprint exactly
- Leaded Solder63/37 Rosin CoreEasier to work with than lead-free
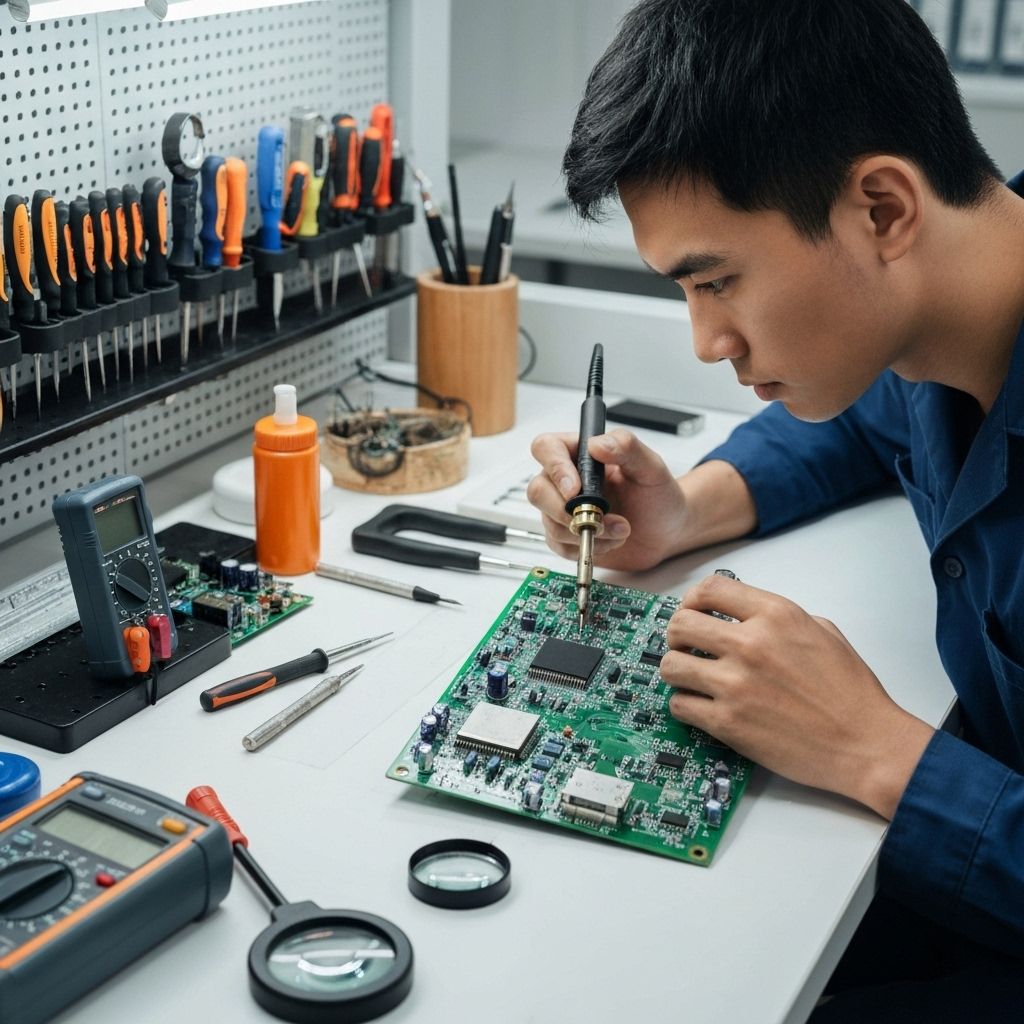
Repair Process
Remove Main Board
You cannot do this repair inside the TV. Remove all cables and screws from the main board and take it to your workbench.
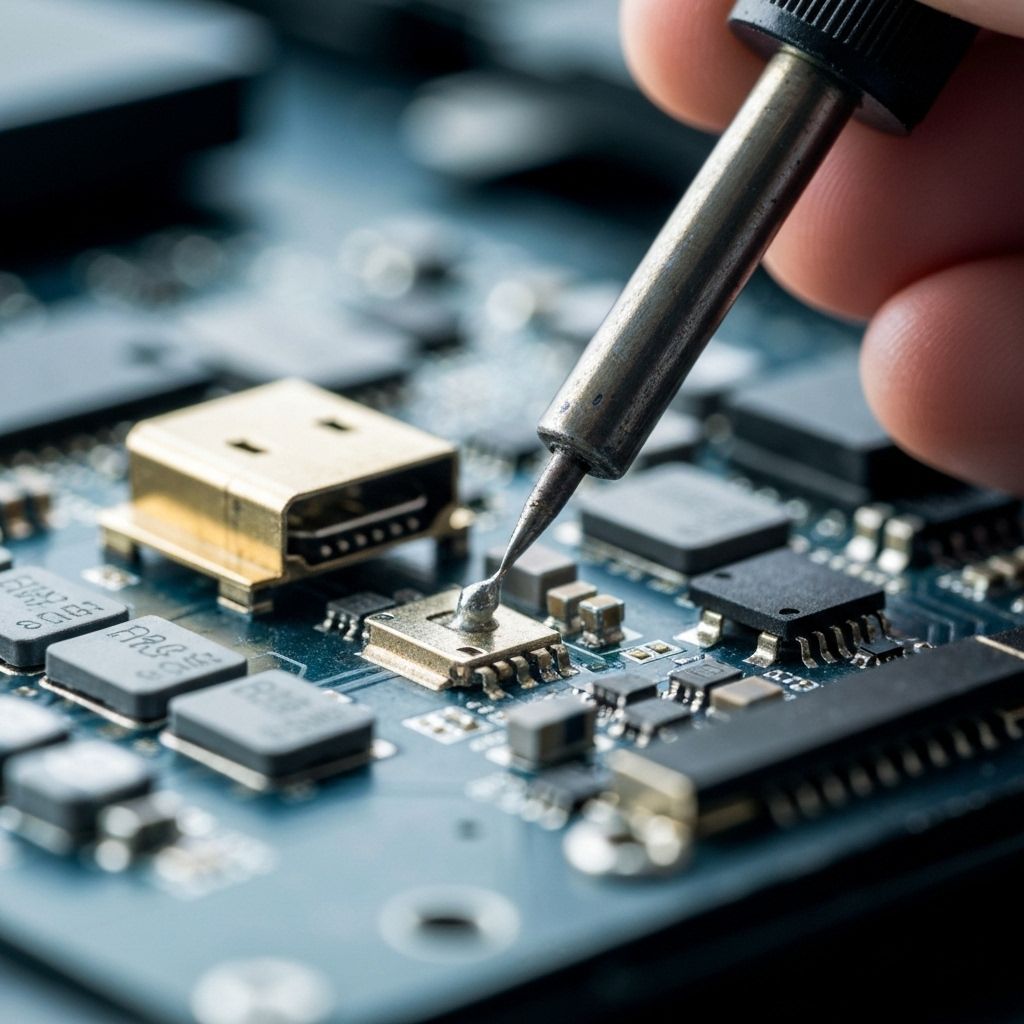
Desolder Old Port
Apply flux and add low-melt solder to the anchor legs if possible. Use hot air (approx 380°C) to heat the entire port area until it lifts off freely. DO NOT PULL or you will rip traces.

Clean the Pads
Apply fresh flux and use solder wick to clean the pads. They should be flat and shiny. Inspect for any lifted or missing pads under a microscope.
Install New Port
Tin the pads lightly. Place the new port. Solder the anchor legs first to secure it. Then, drag solder or individually solder the 19 data pins. Use plenty of flux to prevent bridges.
Inspect Connections
Check every pin under a microscope. Poke them gently with tweezers to ensure they are solid. Check for bridges between pins.

Conclusion
The new HDMI port is mechanically stronger than the original thanks to the generous amount of solder on the anchor legs. All 19 pins tested good for continuity. The TV now detects signals on all inputs.