Samsung 75" QLED - Complete Power Supply Rebuild and Preventive Maintenance
Samsung QN75Q90C power supply complete rebuild. All electrolytic capacitors replaced with premium 105°C rated components for maximum reliability and longevity.
Symptoms
- TV completely dead (no standby light)
- Clicking noise from power supply
- TV is 4 years old (out of warranty)
- Customer wants maximum reliability after repair
Diagnosis
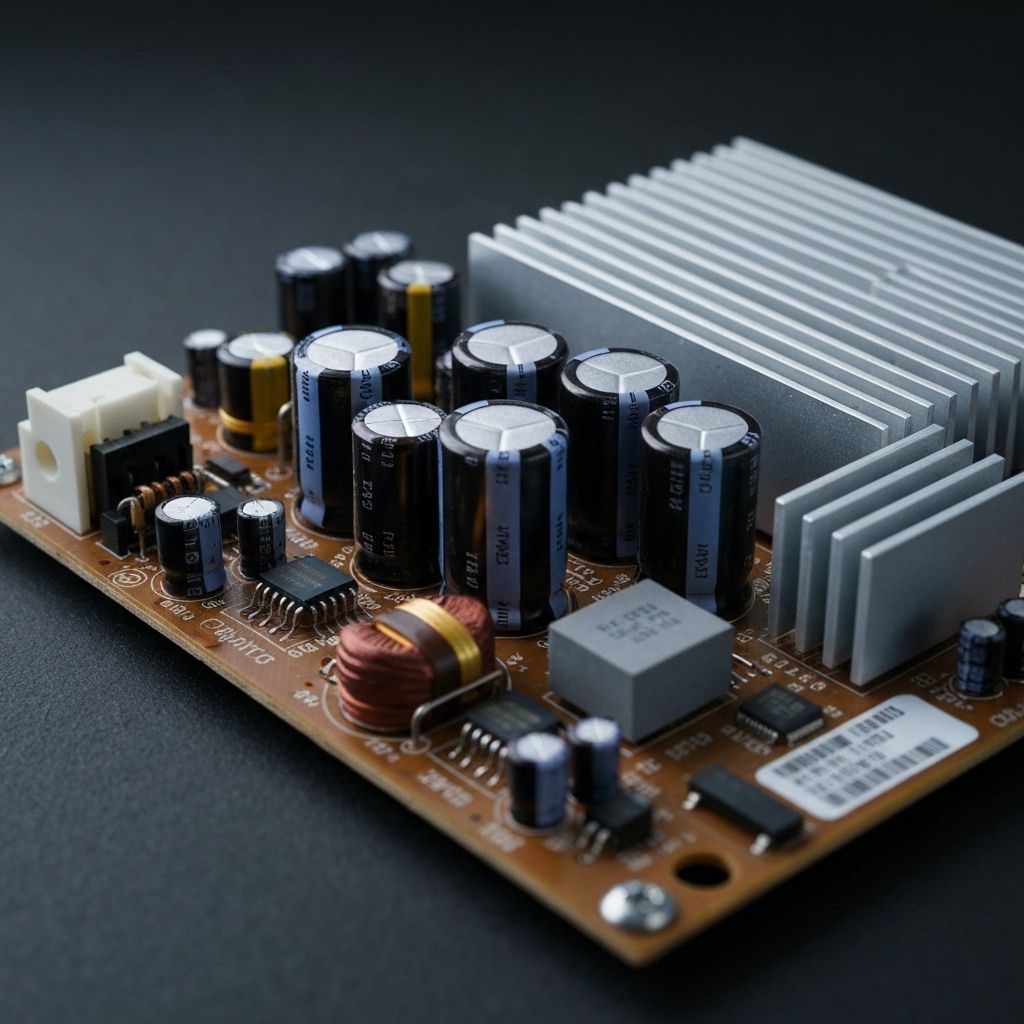
This 75-inch Samsung QLED was completely dead with a clicking relay sound - the power supply was attempting to start but immediately shutting down due to protection circuit activation. Visual inspection revealed multiple bulging capacitors on the power supply board. Rather than replacing just the obviously failed capacitors, the customer requested a complete rebuild for maximum reliability. This is the 'better than new' approach - replace EVERY electrolytic capacitor on the power supply with premium 105°C low-ESR components. The Samsung BN44-series power supply has approximately 20-25 electrolytic capacitors ranging from 10µF to 1000µF. The original capacitors were 85°C rated and had been operating for 4 years. Even the ones that looked OK likely had elevated ESR and were on their way to failure. A complete rebuild ensures another 5-10 years of reliable operation.
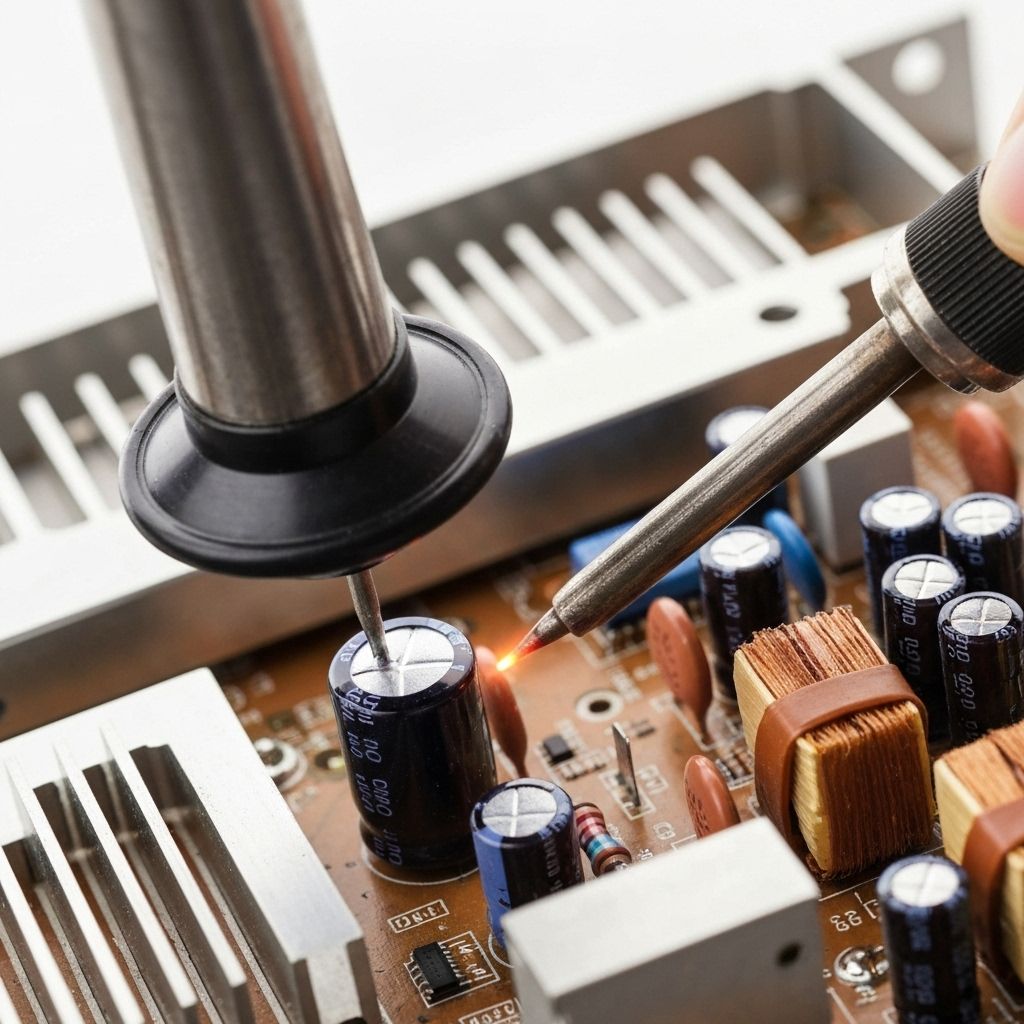
- Soldering Iron 60W+ (or soldering station)
- Desoldering Gun or Desoldering Station (highly recommended for this many capacitors)
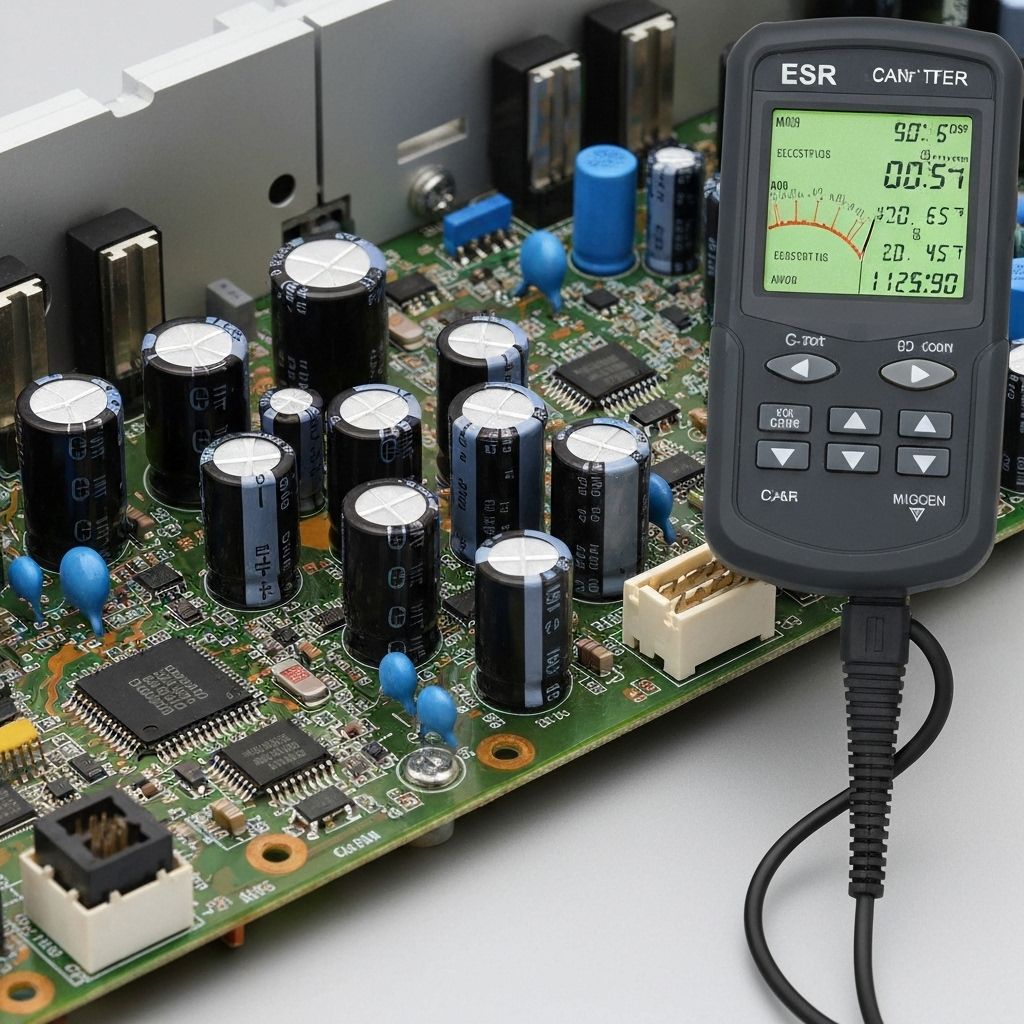
- ESR Meter
- Multimeter
- Flux Pen
- Wire Cutters
- Solder Wick
- Label Maker or Masking Tape (for organizing capacitors)
- Complete Capacitor KitSamsung BN44-series full rebuild kitPre-sorted kit with all values - available from electronics suppliers
- Individual CapacitorsVarious: 10µF-1000µF, 10V-450V, all 105°C Low ESRIf kit unavailable, order individually based on board markings
Repair Process
Document the Power Supply Board
Remove the power supply board from the TV. Take high-resolution photos of the board from multiple angles. Create a diagram or spreadsheet listing every capacitor: position, value (µF), voltage rating, and physical size. This documentation is critical - you'll be removing 20-25 capacitors and need to know exactly what goes where. Some technicians use a label maker to mark each capacitor position on the board.
Remove All Electrolytic Capacitors
This is the most time-consuming step. Systematically remove every electrolytic capacitor on the board. A desoldering gun makes this much faster than a desoldering pump. Work in sections (primary side, then secondary side) to stay organized. Keep the old capacitors in order so you can reference their values if needed. Typical values: 1000µF 16V, 470µF 25V, 220µF 35V, 100µF 50V, etc.
Clean and Prepare the Board
Clean all the capacitor pads with solder wick and flux. The holes should be clear and the pads shiny. This is important - if the holes are clogged, the new capacitors won't fit properly. Inspect the board for any other damage (burnt resistors, cracked solder joints). Fix any issues you find while the board is out.
Install Premium Capacitors
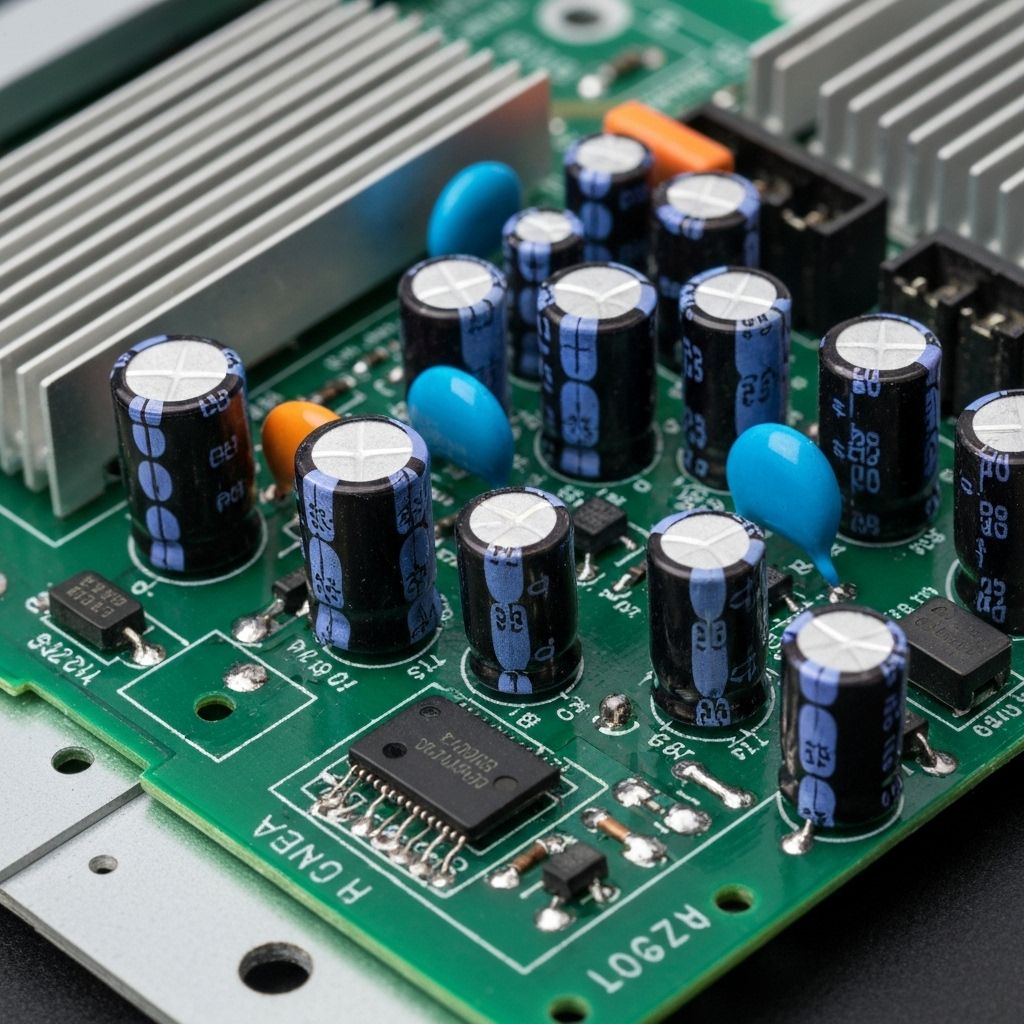
Install the new 105°C low-ESR capacitors one by one, double-checking each value and polarity. Use your documentation and photos to ensure correct placement. The stripe on the capacitor must align with the shaded area on the PCB silkscreen. Solder each capacitor and trim the leads. This step takes 1-2 hours - don't rush. A single reversed capacitor can destroy the power supply when powered on.
Test Thoroughly Before Reinstallation
Before putting the board back in the TV, test it on the bench if possible. Connect the AC input and measure all voltage rails: 12V, 5V, 3.3V, etc. All should be within ±5% of nominal. Check for AC ripple with an oscilloscope - should be under 50mV peak-to-peak. If everything checks out, reinstall the board in the TV. Power on and let it run for 2-3 hours to ensure stability.

Conclusion
A complete power supply rebuild is the ultimate preventive maintenance repair. While it takes 3-4 hours and costs $30-50 in parts, it transforms a 4-year-old TV into one that's more reliable than new. The premium 105°C capacitors will easily last 10+ years. This repair is especially worthwhile for large, expensive TVs (65"+) where replacement cost is $800-1500. Many professional repair shops offer this as a premium service with a 2-3 year warranty. Customer satisfaction is extremely high because the TV runs flawlessly for years after the repair. This is also an excellent learning project for aspiring technicians - you'll practice desoldering, component identification, and systematic troubleshooting all in one repair.