Sony 75" HDTV - HDMI Port Repair (October 2025)
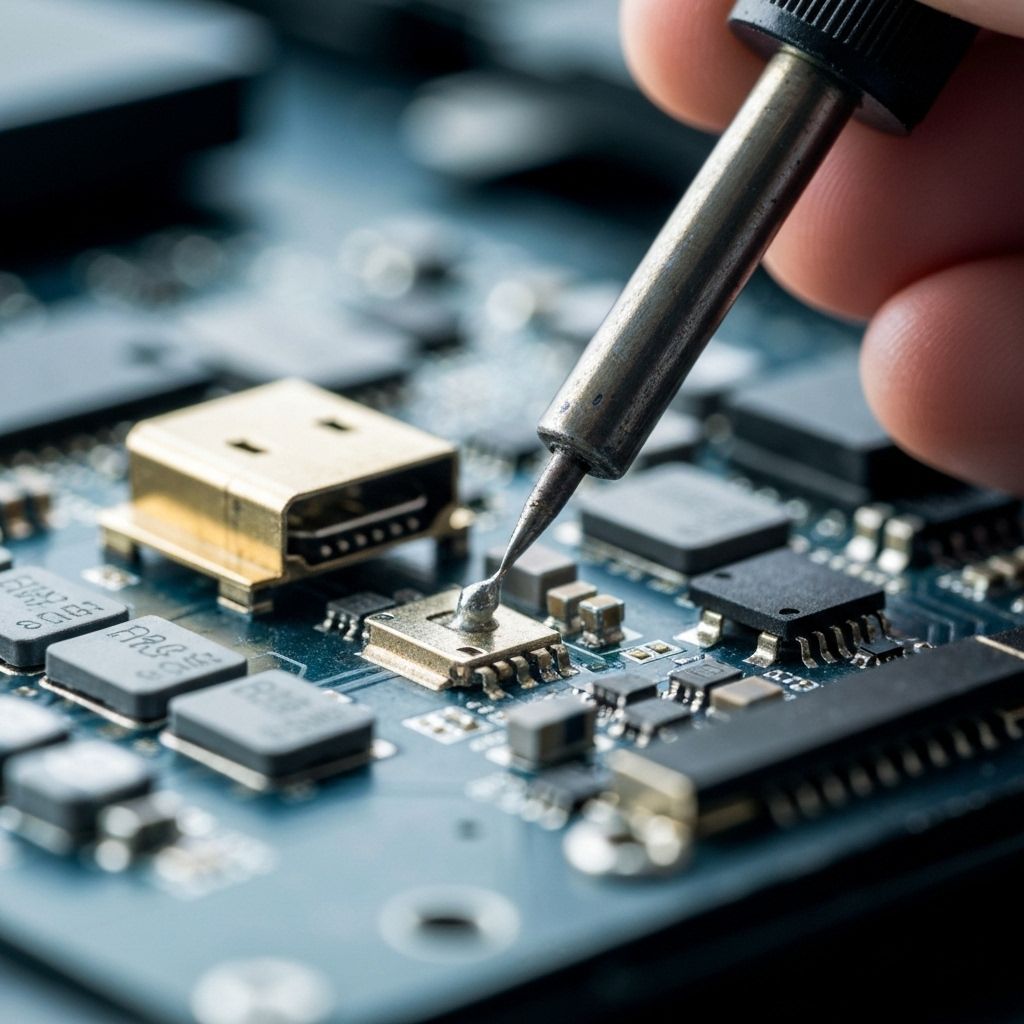
HDMI port soldering on Sony HDTV showing proper technique
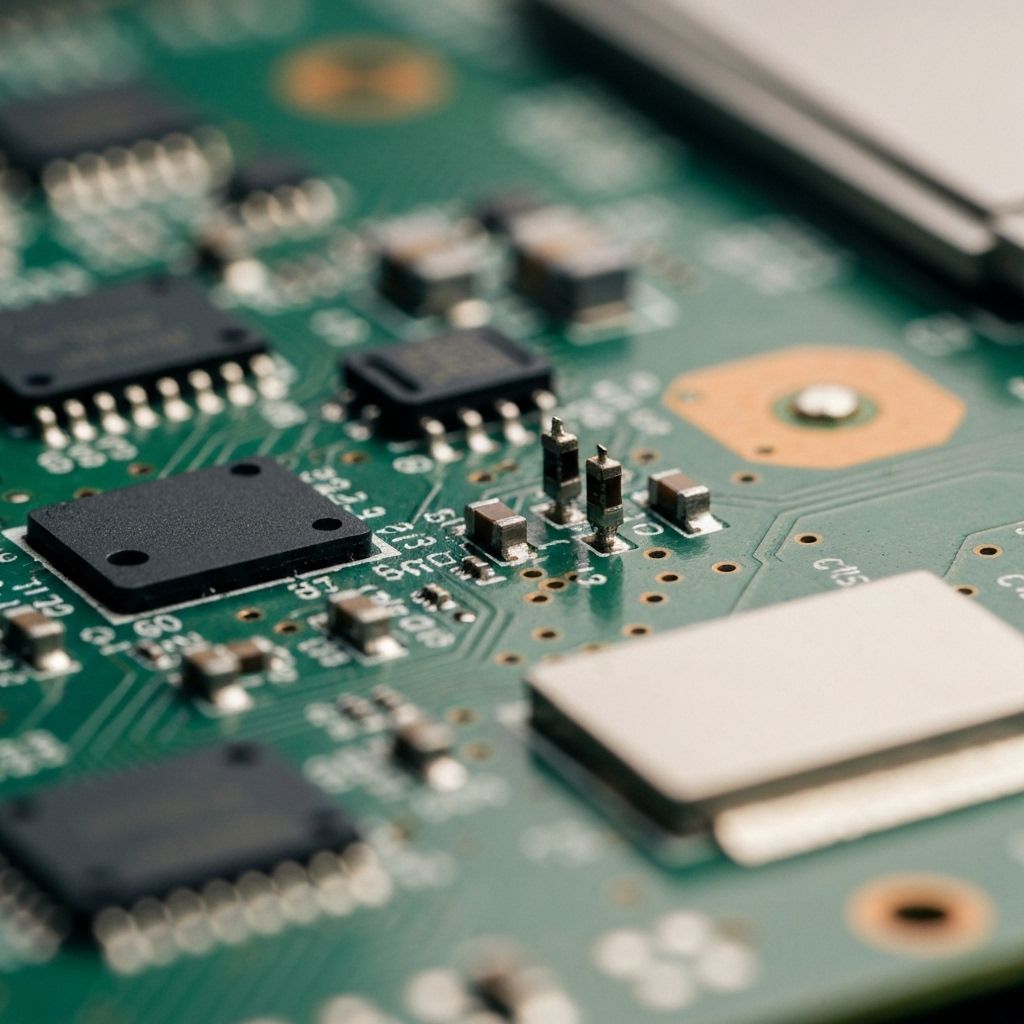
Lifted pads from previous repair attempt - shows what to avoid
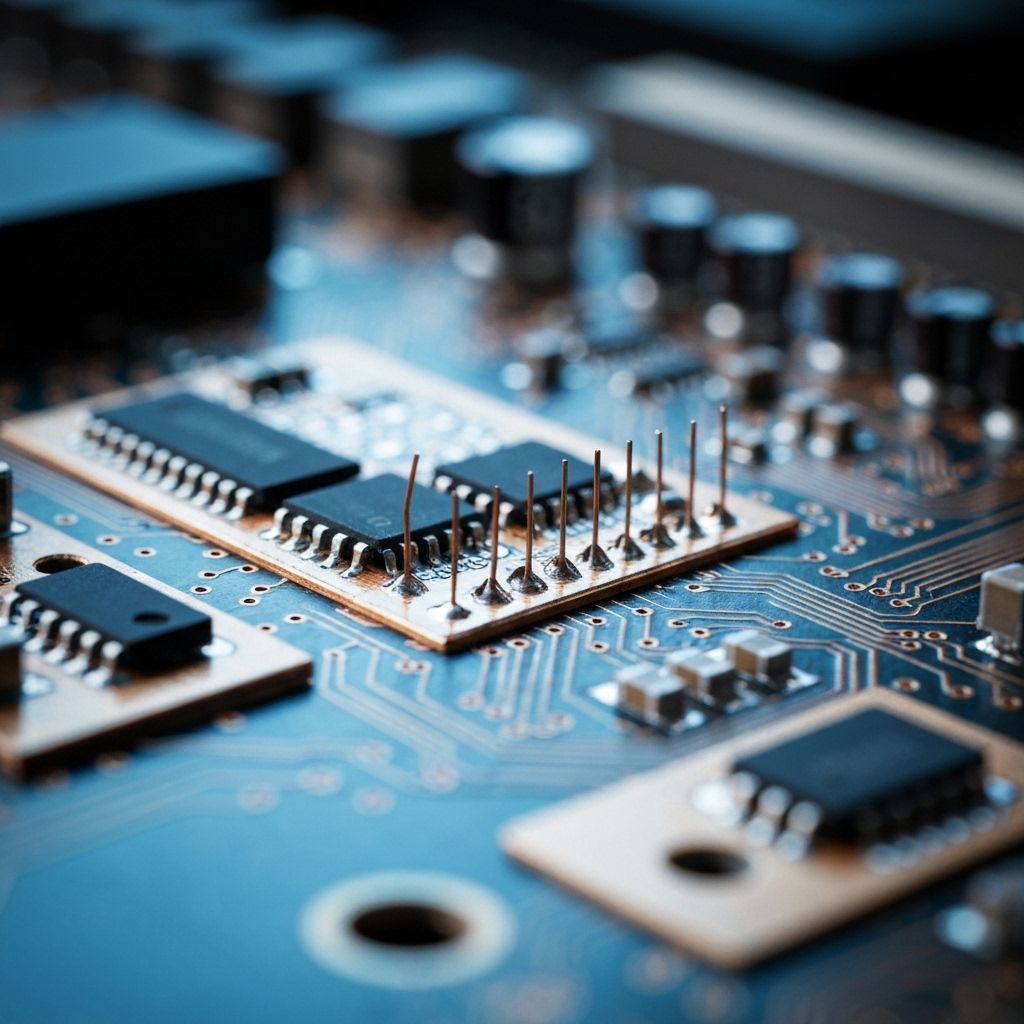
Jumper wires bypassing damaged pads for reliable connection
Customer brought in a Sony KD-75XH9096 with a damaged HDMI port. Someone had forced a cable in the wrong way.
HDMI port replacement on a 75" HDTV is not for the faint of heart. These ports are tiny, the board is dense, and one mistake ruins the whole thing.
Assessing the Damage
The HDMI port was barely attached. Several pins had no connection at all. The port was physically bent.
This is a common failure on large Sony HDTV models due to the fragile nature of the connectors.
The Repair Process
First, removed the damaged HDMI port completely. Cleaned up all the pads with desoldering wick and flux.
Several pads were lifted but not completely gone. Had to carefully re-tin them.
Installed a new HDMI port, carefully soldering each pin. Used a fine-tip soldering iron and good flux.
The key is temperature control. Too much heat lifts pads. Not enough heat creates cold joints.
Soldering Technique
Used a 350°C iron tip with quality lead-free solder. Applied flux liberally to each pad before soldering.
Worked methodically from one end of the port to the other, allowing each joint to cool before moving to the next.
Testing and Verification
Connected an HDMI source. Perfect picture and sound. Tested all HDMI features including ARC and eARC. Everything worked.
Let it run for 24 hours to make sure the solder joints were solid.
Lessons Learned
HDMI port replacement requires patience and the right technique. Too much heat lifts pads. Not enough flux causes bridges.
If you're not comfortable with fine-pitch SMD soldering, don't attempt HDMI port replacement. You'll make it worse.
This is a common failure on Sony HDTV models. The ports are fragile and people don't treat them gently.